


 Facebook Community
 Change Log
 Help Center


- What are Product Variants in Shopify?
- Which is the Best Method to Add Product Variants on Shopify?
- How to Manually Add Variants on Shopify
- How to Add Variants on Shopify with an App
- How to Add Product Variants with CSV Export-Import
- Why Should You Add Product Variants?
- Display Your Product Variants Professionally with GemPages - the Shopify Page Builder
- Final Thoughts on Adding Product Variants
- FAQs About Adding Variants on Shopify


How to Add Variants on Shopify in 3 Different Ways
Do you want to meet the unique needs of your customers and boost your sales? Offering product variants is a must..
Every customer is different, with their own preferences and requirements. To give your customers the best experience, it's important to have a variety of options available.
By providing product variants, you can cater to a wider range of customers and increase your sales and revenue.
In this blog post, we’ll walk you through the step-by-step guides on how to add variants on Shopify through different methods.
What are Product Variants in Shopify?
In Shopify, product variants are different alternatives available within a certain product option. These options could be different colors, sizes, materials, styles, and so on—and all these options consist of their own variants.
Let’s take a look at the example we’ve taken from one of the popular Shopify-powered brands — Fashion Nova. In this product, Cargo Jeans, there are three different types of variants:
- Option - 1: Colors
- Variants: Brown, Green, Lavender, Light Wash, Medium Blue Wash, Pink, and White.
- Option - 2: Fit
- Variants: Regular, Tall, and Petite.
- Option - 3: Size
- Variants: 0, 1, 3, 5, and so on.

Which is the Best Method to Add Product Variants on Shopify?
There are several methods to choose from, but the best approach depends on your specific product and needs. Here’s an overview:
|
Method |
When to Use |
|
Shopify Admin |
- 3 or fewer simple product options (e.g., color, material, size) - Less than 100 variants |
|
Shopify App |
- 3 product options and over - Over 100 product variants - Other features along with product options/variants e.g. adding a text field for custom printing or package |
|
CSV Export-Import Functions |
Add product variants to multiple existing products |
Now, let’s take you through all these different methods one by one:
How to Manually Add Variants on Shopify
Step 1: Create a New Product
Go to Shopify admin and click on the Products tab on the left sidebar. Then, click on the Add product button.

If you still don’t have any products in your Shopify admin, your Products section may look like this:

In that case, click on Add your products. Fill in the necessary product details.
Step 2: Go to the Variants Section
Scroll down to the Variants section on the product page and click on “+ Add options like size or color”.

Step 3: Choose the Option Name
You'll see the Option name field, which will initially present default product options: Size, Color, Material, and Style.
You can choose from these default options if they are suitable for your product. However, it's important to note that you are not restricted to these predefined choices; you have the flexibility to create your own option names.

If you want, you can input your own Option name. For instance, suppose you are selling jewelry items that come with various types of boxes. In this scenario, you can enter "Box Type" into the Option name field.
Step 4: Insert Option Values
After selecting the Option name, you need to insert all different variants available under that option. Continuing to the example we’ve taken above, insert the different types of boxes under Option values as shown below:

Click on the Done button once you’ve inserted all different variants under the Box Type option.
Important Note: If your product has more than one option, you can include up to 3 options. To do this, click on the "+ Add another option" tab and follow the same process to add more options and their respective variants.
Upon clicking "Done" the variants will be successfully added to the product.
Step 5: Edit the Product Variant Details
Now that you've created your product variants, it's time to add images and edit the details for all variants. Click on the image icon to assign images to each variant. This way, customers can see exactly what they're getting.
On the right side, hit the "Edit" button. This allows you to fine-tune specific information for all your variants, such as prices, quantities, SKUs, and more.

Shopify bulk edit variants: For quick bulk editing of multiple products, Shopify offers a handy tool. Click on the "Bulk edit" button to adjust different criteria for all variants on a single page. See the image below for reference:

Once you've added images and made necessary edits, simply click the "Save" button on the product page. It's always a good idea to preview the page to ensure everything looks just right.
That's it! Your customers can now explore and purchase the specific product variants they desire. Happy selling!
How to Add Variants on Shopify with an App
As we mentioned earlier, Shopify has certain limitations – it allows you to add up to 3 options and 100 product variants through the admin. But what if your product requires more options and variants for specific use cases?
This is where a Shopify app comes in handy.
Step 1: Search for Shopify Product Variant Apps
Navigate to the Shopify App Store. In the search box, type the keyword "product variants," and you'll discover a variety of apps in this category.

Step 2: Install the Shopify App of Your Choice
You can take some time to explore and pick the app that best suits your needs and budget. For this guide, we'll use the "Infinite Options" app as an example. It boasts an impressive rating of 4.8 out of 5 stars, based on feedback from over 3800 users.
Additionally, it proudly displays the "Built for Shopify" badge, which serves as a reliable indicator that the app meets Shopify's quality standards.

Click on the Install button to proceed with the installation. Review the Privacy details and Permission details, and then click on the Install app button to complete the installation.

Step 3: Install the Theme Block
Once you’ve installed the app, you’ll be redirected to the app dashboard inside Shopify admin. Follow the instructions from the app developer and install the theme block in your current theme’s default product template.
Click on the Go to the Theme Customizer button. You may also click on the “Read help article” link if you need more information on this process.

Upon clicking it, you'll be directed to the Shopify theme editor. To access the product page template, click on the dropdown menu labeled "Home page" and then choose the "Default product template".

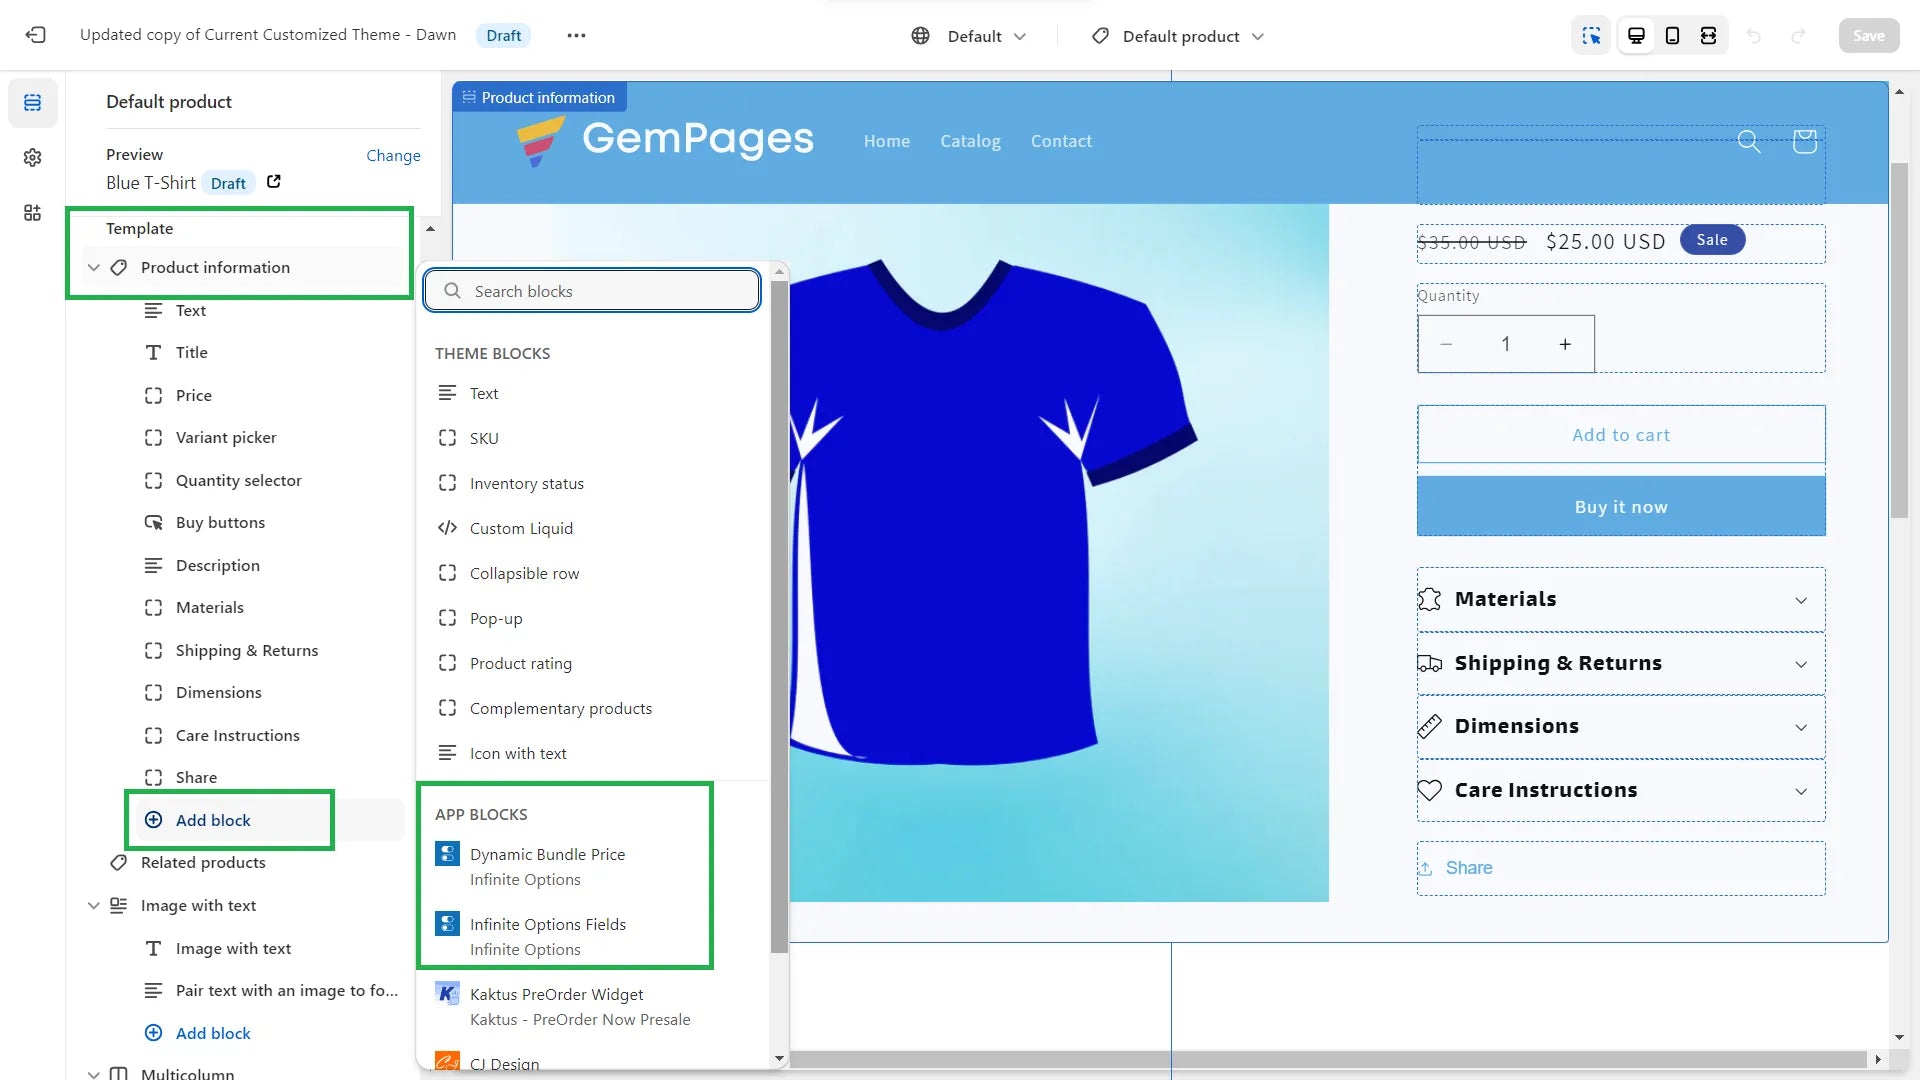
On the default product page template, go to Template > Product information > Add block and then you’ll find the APP BLOCKS: Dynamic Bundle Price and Infinite Options Fields. Click on the app blocks that you want to configure.
Step 4: Build Option Sets
Once you’ve installed the app blocks, come back to the dashboard of Infinite Options. Now, you can start building option sets.
Click on the “Launch Getting Started Wizard” button.


Follow all the instructions given by the app developer and fill in the necessary details to create product variants as per your needs.
How to Add Product Variants with CSV Export-Import
Step 1: Export Your Product Data
Go to Shopify admin > Products, and then select all the products to which you want to add variants. Once selected, click on the Export button.

Select the appropriate Export option. In this case, we chose the “Selected 3 products” button.
Under Export as, click on “CSV for Excel, Numbers, or other spreadsheet programs”, then Export products.

Step 2: Add Product Variants
Now, add the product variants in the CSV file. Make sure to keep the same “Handle” for all variants.
You may also need to copy-paste some other cells that remain the same for all variants, e.g., weight, price, shipping, and tax conditions. Once product variants are added, save and close the CSV file.

The cells are highlighted with colors just for explanation
Step 3: Import the CSV File
Now, go back to the Products section in Shopify admin, and click on the Import button. Upload your updated CSV file.
Make sure to check the box that says, "Overwrite any current products that have the same handle. Existing values will be used for any missing columns." This will ensure that you don’t create duplicate products.
Then, click on the Upload and preview button.

In the preview section, you can check and see if the data is updated in the correct format. Once reviewed, click on the Import product button.

And that’s it! Your new product variants will be updated in your existing products in just a few seconds.
As you can see in the below screenshot, the highlighted product variants have been updated from 3 to 5 variants.

You can also check and verify it on the product page as shown below:

Why Should You Add Product Variants?
Increase Your Sales and Conversions
The biggest advantage of adding product variants is increasing the opportunities to sell your products to a broad group of customers.
For example, let’s say you’re a shoe brand. If you’re providing all (common) size variants, almost all customers would be able to find and buy shoes of their size. On the flip side, if you don’t, many customers would exit your store and go to competitors.
Better Searchability of Your Products
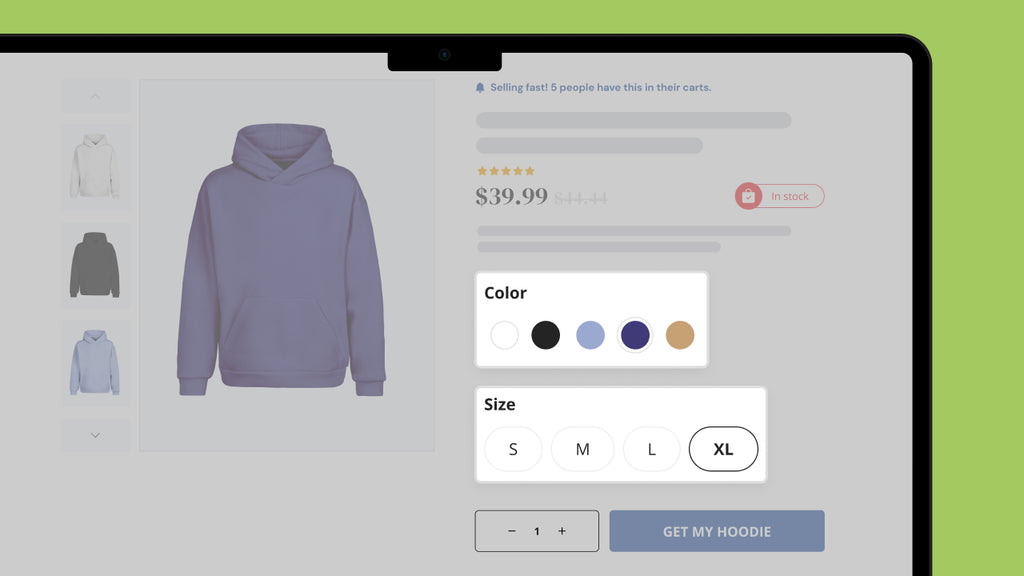
Many customers use long-tail keywords to find the exact product they’re looking for. For example, instead of just typing “hoodie” in Google search, a customer might search for “XXL grey hoodie”.
By creating proper bifurcation of product variants, you can make it easy for search engines as well as for customers to find your products.
Enhance Customer Satisfaction
Ever went shopping and found a great product — but felt disappointed when you couldn’t get it in your favorite color? The same might happen to your customers if they can’t find a variant of their choice.
Thus, it’s important to have different variants, or at least the most common/popular ones, for your product as long as it’s feasible.
Identify Your Customer Preferences
Providing different product variants is also a great way to find out what your customers love the most and double down on it. Sometimes, you might need to run experiments with your variants to figure out what sells the most.
For example, if you’re selling clothing items. If you’re offering 15 different color variants for a t-shirt, the buyer might get confused and don’t pick any of them. Ideally, it’s advisable to offer a maximum of 5-7 color variants for clothing items.
Display Your Product Variants Professionally with GemPages - the Shopify Page Builder
Want to make your product variants professionally? Give GemPages a try.
GemPages is the top-ranked page builder for Shopify. It's fast, smart, and packed with features like Image-to-Layout AI, 80+ templates, and 100+ customizable elements. It's the perfect tool to take your online store to the next level.
With GemPages, you can easily customize how your product variants can be displayed, as well as many other important elements for your pages including countdown timer, pop-up, sticky add to cart, etc.
Here’s the detailed YouTube tutorial on how to customize variation swatch with GemPages for your reference:
Final Thoughts on Adding Product Variants
Product variants play a crucial role in scaling the sales of your products.
That said, it’s not necessary that having more variants will always result in more sales. It’s imperative to be mindful and strategic about how you create and offer variants under different products.
The most important factor to consider is your target customer. You need to analyze and identify what they need and which variants are frequently bought by your customers.
Take a data-driven approach and prepare your strategy accordingly.
FAQs About Adding Variants on Shopify


