


 Facebook Community
 Change Log
 Help Center


A Step-By-Step Guide On Showing Discounts on Shopify Product Pages
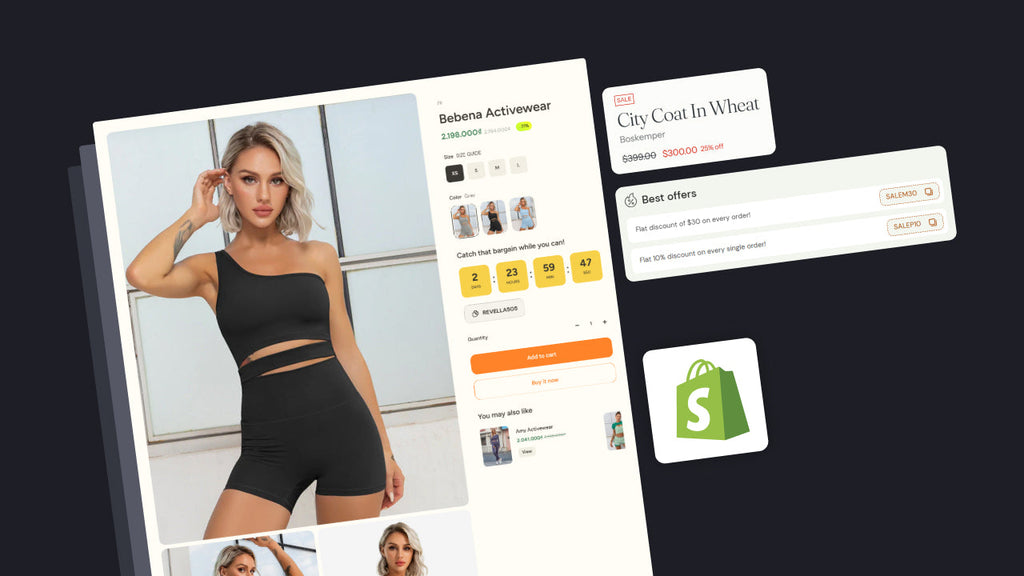
“Shopify show discount on product page” has remained one of the top-searched phrases among Shopify owners for different reasons. There are a lot of methods to apply Shopify discounts; however, not every option is obvious, optimized, well-understood, and easy to start for newbies. That’s why you need to choose the best fit for your business and campaign’s specific demands.
This blog reveals the 5 most common ways to display discounts on your Shopify product pages:
-
Shopify Native features
-
Shopify Functions
-
Shopify Scripts
-
Shopify Discount apps
-
Theme Code
Right now, it’s time to learn how to start with these methods and some mistakes to avoid!
4 Key Features of Shopify-Discount Functions
Before exploring how Shopify shows discounts on product pages, it’s essential to understand the powerful capabilities that Shopify Discount Functions offer beyond native discount methods. GemPages professionals have found, tested, and evaluated four outstanding features below:
- Advanced discount logic and conditions
Shopify Discount Functions enables the creation of highly complex discount rules and dynamic discount conditions that cater to your specific needs. They can include volume-based discounts, “Buy X Get Y” scenarios, real-time database, cart content specifics, and geographical location. This allows merchants to implement layered strategies that traditional methods can not support.
- Deep personalization
The next feature lies in the ability to offer personalized aspects that can significantly enhance the customer experience. Instead of generic promotions, discounts can be tailored to individual customer data, their shopping behaviour, and preferences. Rewarding loyal customers, targeted item recommendations, birthday discounts, and segment-specific offers are notable examples.
- Flexibility and integration
Shopify users can integrate these functions with third-party applications and custom services. This is essential to delivering diversified discount strategies that work well with external systems. You can also utilize an extensible framework to leverage discount functionalities, potentially increasing sales while strictly controlling them within your Shopify Admin interface.
- Real-time adjustments
Shopify-Discount Functions are designed to adjust in real-time based on dynamic factors: dynamic pricing based on live inventory levels, competitor pricing, or time-sensitive events; event-triggered discounts in response to buyer actions; and automated promotional campaigns. As a result, online merchants stay agile, competitive, and capable of delivering offers precisely.
5 Key Methods to Show Shopify Discounts On Product Pages
|
Display method |
Discount type |
|
Use Shopify Native
|
|
|
Use Shopify Functions (Advanced) |
|
|
Use Shopify Scripts |
|
|
Use the Shopify Discount app |
|
|
Use Theme Code |
|
#1. Use a Native Shopify account
Shopify Automatic Discount
Shopify Automatic Discounts allows you to create rules-based promotions, like “10% off orders over $100”, that apply automatically at checkout without requiring the customer to enter a code. These discounts are easy to configure and work seamlessly during checkout, but they aren’t always visible on the product page, which can reduce their impact on customers’ deal closures.
|
Pros |
Cons |
|
|
Verdict
When Shopify shows discounts on product pages in this way, it can help effectively benefit your site-wide sales, seasonal, or one-time promotions. Moreover, it is easy for beginners to set up.
Steps
Step 1: Choose the type of discount to display
In your Shopify Admin, select Discounts on the left bar to open the Discount tab.

Select Discount in the Shopify Admin to open the Discount tab
Next, click the Create Discount button and select Discount Type (e.g., Amount of Orders).

Select a proper discount type based on your demands
Step 2: Configure your automatic discount
In the Create Discount tab, select Automatic Discount as a method.

Select the Automatic Discount method
In the Title bar, enter a title that you want to display to customers.

Enter the title for the automatic discount
Step 3: Set up relevant criteria for your discount
Here are the crucial fields that you need to complete for the Amount of Orders:
-
Type discount (Percentage or Fixed Amount) and Value;
-
Avaliability
-
Minimum purchase requirements
-
Combinations
-
Active date
-
End date

Configure essential criteria for your automatic discount
Step 4: Preview and save your discount
On the top right section, recheck the discount before clicking the Save button to finish.

Check all completed fields for your automatic discount before publishing
Shopify Discount Code
Shopify discount codes allow for the creation of custom coupon codes, such as “SUMMER10”, “HAPPYMOTHERDAY2025”, or “FREESHIP”, that customers manually enter at checkout to get a discount. And all of these codes can be created in the Shopify Admin with custom parameters.
|
Pros |
Cons |
|
|
Verdict
Discount codes are perfect for exclusive deals, targeted offers, and influencer partnerships. These codes help Shopify show a discount on the product page more flexibly and customarily.
Steps
Step 1: Select the Discount Type for your campaign
Similarly, select Discounts and click the Create Discount button. Then, select a proper type.
Step 2: Configure your Shopify discount code
First, select Discount Code as a method.

Select the Discount Code method for your discount
Then, enter your code name into the Discount Code bar or select “Generate random code.” Your code name should be relevant to your campaigns, making it easier to remember and enter.

Enter the title for the discount code or select it randomly
Step 3: Set up relevant criteria for your discount
You need to fill in fields similar to those used for the “Automatic Discount” method.
Step 4: Preview your discount code and save
In this step, check your discount code information and click the Save button to finish.

Save all the setups for your Shopify discount code
|
Note:
|
#2. Use Shopify Functions
The second way Shopify shows discounts on product pages is through Shopify Functions. You can use this tool to design custom discount logic that works well with Shopify’s ecosystem. Also, Shopify Functions offer advanced discounts, like spending $X and getting a $Y volume discount.
However, to use Shopify Functions successfully, you need to know the types of Discount APIs:
-
Product Discount Function API (e.g., Buy 2 T-shirts, get 5% off shoes)
This API targets specific products, variants, or individual cart lines. You can create and apply a new discount to those matching specific criteria, like product ID, variant, and quantity threshold.
-
Order Discount Function API (e.g., Spend $100, get $15 off the entire order)
You can add discounts to the order subtotal/ the entire cart. This API is used for tiered cart-wide promotions or conditional order discounts, which can not be found in Shopify Native Discount.
-
Shipping Discount Functions API (e.g., 30% off Express Shipping for VIP)
It enables shipping discounts on checkout, modification of shipping options, and targeting a specific shipping method to get discounts. This makes it more flexible for customers to select.
|
Pros |
Cons |
|
|
Verdict
Shopify Functions are ideal for sellers who require highly customized, complex, and dynamic discount logic that goes beyond Shopify's native offerings. According to Shopify’s experts, there are 3 cases you should prefer this way: exclusions, tiered discounts, and discounts to cart lines.
Steps
Step 1: Develop or install an app
Developers can create custom discount logic using Shopify's Functions framework. Alternatively, merchants can install apps built on discount functions from the Shopify App Store.

Select languages to create a Shopify functions extension for apps
Developers often use the Shopify CLI to scaffold a function (e.g., shopify app generate extension --template=order_discounts --name="bundle-discount"). However, these functions can be written in other languages that compile to WebAssembly, such as Rust for large carts and JavaScript (TypeScript) for available templates that are easy to customize.
|
How Discount Functions Work:
|
Step 2: Activate discount functions
You need to use GraphQL Admin API mutations: discountAutomaticAppCreate for automatic discounts (direct cart) or discountCodeAppCreate for discount codes (checkout) to activate Shopify Functions. These mutations work by registering a new discount entity in your Shopify store that links to your function by its ID, allowing you to configure it in Shopify Admin.

Users complete mutations for Shopify Functions’ discount codes
Your third-party app needs to have the write_discounts permission scope. This allows users to use Shopify Functions for discounts that are accessible to all stores without Shopify Plus.
Step 3: Test Shopify Functions code
Enter “DISCOUNT_FUNCTION” in the Discount Code or Gift Cards bar as an example.

Users need to test the Shopify Functions discount codes to ensure they work correctly
After that, click Enter to test your established discount code.
#3. Use Shopify Scripts
Shopify Scripts is a tailored feature for Shopify Plus plans. It allows for customizations within the checkout process using a Ruby-based scripting language. You can modify line item properties, shipping rates, and payment methods, and apply discounts through setting complex conditions. However, Shopify Scripts will be entirely removed from the Shopify Admin by June 30, 2026.
Shopify Scripts allows for 3 script types: Line item scripts, Shipping scripts, and Payment scripts. For each script, users can create many discount types, such as discount products with specific tags, BOGO, price discounts for volume, shipping, and payment gateway discounts.
|
Pros |
Cons |
|
|
Verdict
Shopify Scripts target Shopify Plus merchants that need complex and customized discounts. In this way, Shopify shows discounts on product pages, similarly to Shopify Functions. Therefore, once Shopify Scripts is removed from the Shopify App Store, let’s migrate to Shopify Functions.
Steps
Step 1: Install the Shopify Scripts Editor app
In your Shopify Admin, click Add+ under Apps on the left bar to open the Shopify App Store.
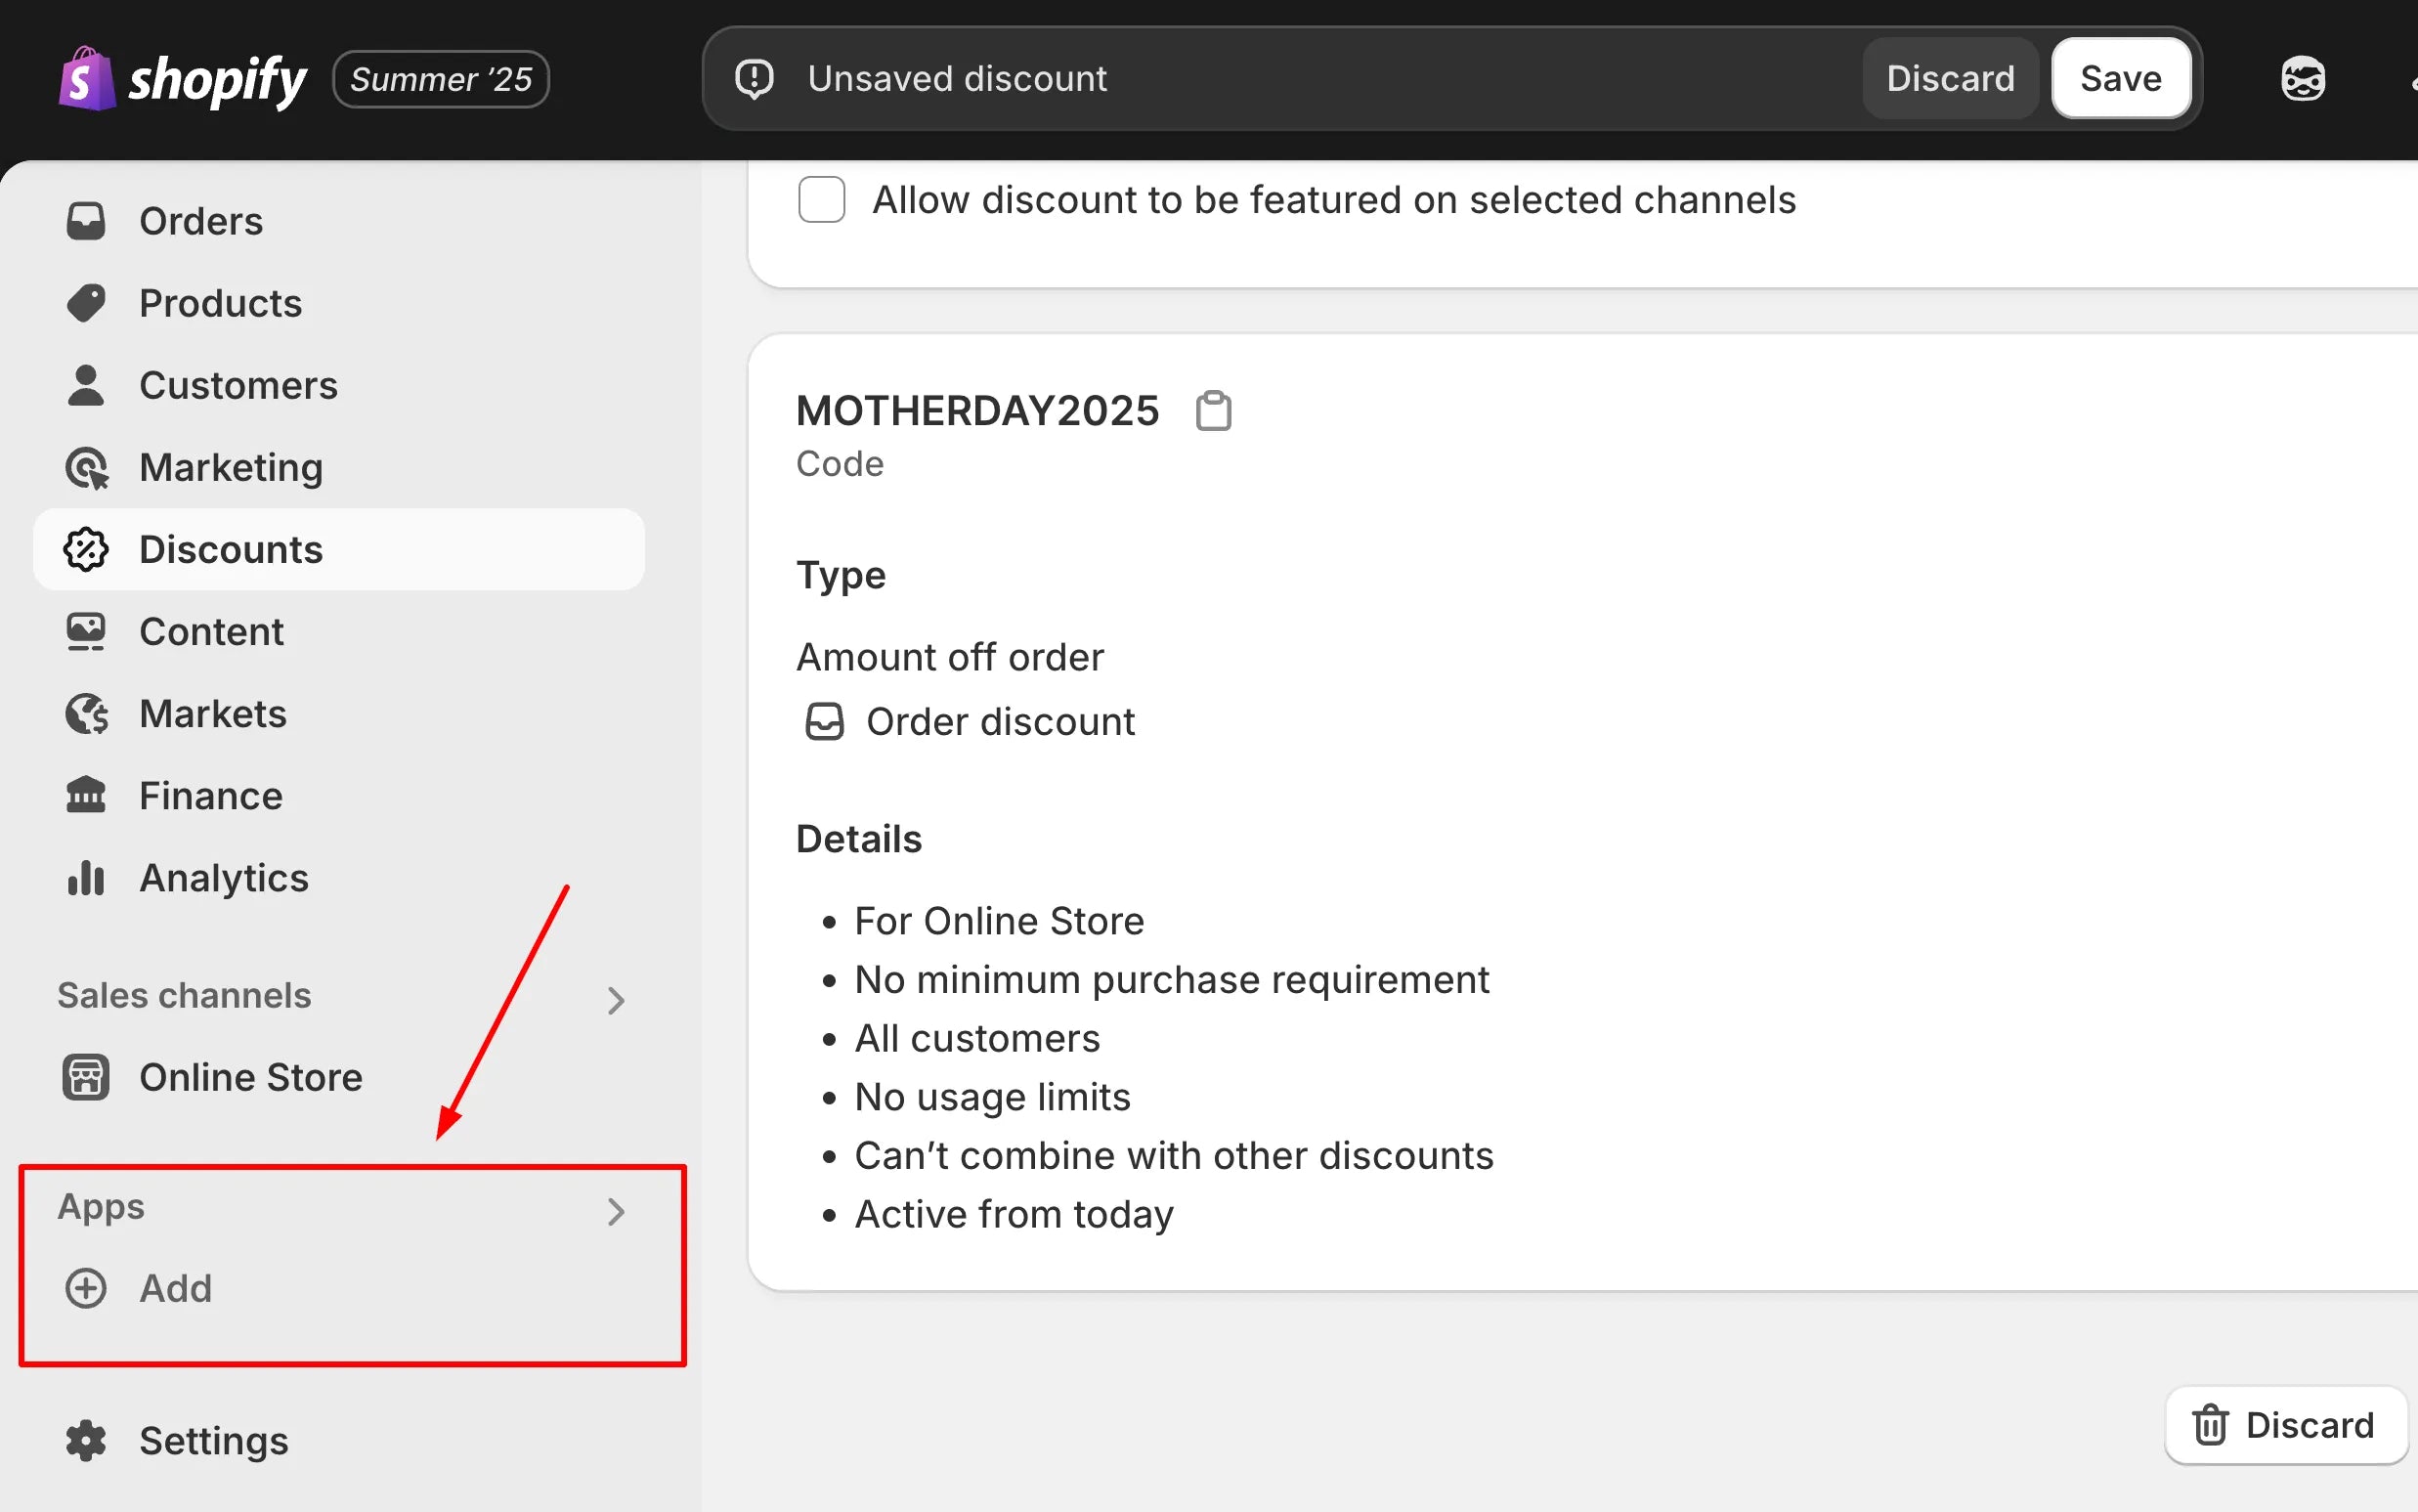
Then, enter Shopify Script Editor in the Search Engine bar and click Install to add this app.

Users need to install the Script Editor to customize their Shopify Script template
|
Note: Shopify Scripts Editor is not available in the Shopify App Store. However, you can use: admin.shopify.com/store/action-extensions-demo/apps/script-editor to navigate for installation. However, some functions can’t be compatible with the latest version of the Shopify Plus Plan. |
Step 2: Select and configure your discount type
First, select Shopify Script to open the Script tab.
Then, select Create Script to open the Select Script Template and select a proper template.
After that, you need to configure the essentials: Titles, Channels, and Ruby source code.
Finally, check for errors, save, and publish.
Learn more: Shopify Plus Pricing: Everything You Need To Know Before Upgrade
#4. Use a Shopify Discount App
The following method that Shopify shows a discount on the product page is utilizing third-party apps in the Shopify App Store. Most apps can support pricing, promotions, and product display. Notably, they enable the ability to automate discount logic, display countdown timers, schedule campaigns, show % OFF badges, and more without coding. However, you need to pay to use it.
If so, what is the best app to show discounts on product pages? Here are our suggestions:
1. Pumper Bundles Volume Discount
Pumper Bundles Volume Discount is a built-for-Shopify app that offers quantity breaks, product bundles, and tiered pricing. It allows for creating dynamic discounts that incentivize customers to buy more, increasing average order value. The app provides an intuitive interface for setups. Notably, this discount app features a Free Plan up to $300, with 24/6 customer support service.

Pumper Bundles Quantity Breaks stands out with a free plan with up to $300 value
Price: $0 - $49.99/month
Rating: 5.0/5.0 (1,743)
Learn more: GemPages x Pumper Bundles Volume Discount: Third Party Integration2.
2. Wide Bundles - Quantity Breaks
Wide Bundles - Quantity Breaks targets helping merchants create compelling quantity-based discounts and product bundles. You can freely develop offers with one or multiple products and take advantage of 100+ customization options to make the final design match your brand tone. It’s recommended that you try it free for 14 days and see how it can increase orders and sales.

Wide Bundles - Quality Breaks is a discount app built for Shopify with robust features
Price: $18 - $36/month
Rating: 4.8/5.0 (282)
3. BOGOS
This Shopify discount app (formerly Free Gifts by Secomapp) is an all-in-one Shopify app that empowers merchants to create diverse promotions, including Buy One Get One (BOGO), free gifts, bundles, and volume discounts. It also works well with landing page builders, Shopify POS, mobile apps, headless stores, and Hydrogen APIs, making it flexible for any store setup. With its Free Plan, you can get 30 free orders for life and even live chats for customer support.

BOGOS supports excellent live chats to enhance the customer experience
Price: $0 - $99.99/month
Rating: 4.9/5.0 (2,264)
GemPages is the #1 Shopify landing page builder and a powerful sales funnel builder that pairs perfectly with these apps. With its intuitive drag-and-drop editor, you can visually showcase custom discounts directly on your Shopify store, enhancing the customer shopping experience.
Gempages Shopify Tutorial 2025 | How To Use Gempages For Shopify
Whether you need to build upsell, downsell, or promotional Shopify pages, GemPages offers 200+ professionally designed templates and an AI-powered Image-to-Layout feature to save design and time. It also integrates smoothly with Shopify Checkout and supports One-Click Upsell systems, making it a comprehensive Shopify app for boosting conversion rates and AOV.
|
Pros |
Cons |
|
|
Verdict
Shopify discount apps are ideal for merchants seeking advanced, flexible, and visually engaging promotional capabilities without custom coding. They also help scale with third-party integration.
Steps
Step 1: Install a Shopify discount app
On the left bar, click Add+ under the Apps tab to navigate to the Shopify App Store.
Then, enter “discount app” in the Search Engine bar and select a proper app.

Click Install to redirect to your Shopify Admin.
After that, read the terms and click the Install button at the end to finish your installation.

Users need to read the relevant terms and policies before official installation
Step 2: Subscribe to a proper plan
In the Shopify Discount tab, select a pricing plan to start. Otherwise, try with a free plan.

You need to read and select a proper pricing plan for your discount activities
Step 3: Configure your Shopify discount app
Depending on each app, you need to follow the instructions to set up your desired discount rules, bundles, or promotional displays. Don’t forget to use Chat Message to get timely support.
#5. Use Theme Code
Modifying the theme code directly is another way to show discounts on product pages in Shopify. This method involves customizing the HTML and Liquid files within the Shopify Editor. While it offers a high level of flexibility, it is recommended to display percentage-off sales labels.
|
Pros |
Cons |
|
|
Verdict
Using theme code for Shopify discounts provides ultimate customization and avoids app subscription costs, making it ideal for sellers with technical expertise or access to a developer.
Steps
Step 1: Find a target file to customize
In your Shopify Admin, select Online Store and click Theme.

Select Theme in the Online Store tab to open your Shopify Themes
On your current live theme, click on the three-dot symbol (⋯) and select Edit code.

Select Edit Code to open the window “Edit code for <Theme Name>”
Open the snippets folder and select the price.liquid file.

Select Snippets folders to open price.liquid file to start customizing discounts
Step 2: Add or customize Shopify discount codes
In the price.liquid file, find the “Sales badges” block.

Next, replace the Sales badges block with your new codes.
After that, click the Save button to save the changes and click Preview Store to recheck.

Click the Save button and Preview Store to finish
4 Mistakes to Avoid when Displaying Shopify Discounts
When you have Shopify show discounts on the product page, you aim to improve your sales or orders. However, it is not always made correctly for the best results. Many beginners can make common mistakes that can reduce the effectiveness of their promotional campaigns, such as:
- Don’t use urgency boosters
While countdown timers can drive conversions, misusing them can backfire. If timers are always present or reset frequently without a genuine reason, customers might lose trust in your store. Instead, you should use urgency sparingly for genuine sales events. Don’t forget to ensure timers reflect actual deadlines to maintain credibility and truly display discounts for limited offers.
- No testing for mobile view
A significant portion of online shopping happens on mobile devices. If your Shopify discount displays aren't optimized for mobile, they can appear broken, unreadable, or even hidden. Therefore, you should test how your discounts appear across mobile devices and screen sizes. Also, badges, banners, and pricing updates should be clear and well-formatted for all devices.
- Only use automatic discounts
While Shopify's automatic discounts are convenient, they don't allow for targeted campaigns, influencer collaborations, or exclusive offers. This makes it challenging to reach a broad range of diverse and potential customers through different channels. That’s why mixing automatic discount types and even discount methods for campaigns is key to boosting your performance.
- Don’t update relevant price fields
If you’re manually editing your theme or using custom apps, make sure all relevant price fields, such as compare-at price, original price, and discounted price, are correctly updated. Otherwise, your customers may see inconsistent pricing, which leads to hesitation, confusion, and mistrust.
Conclusion
Our blog has reviewed 5 effective ways to show discounts on product pages on Shopify. Each method has its own pros and cons, so it’s essential for Shopify sellers to evaluate them carefully before deciding which approach fits best. You can also combine or switch between these discount display methods depending on your campaign goals, helping maximize sales and AOV.
Remember to strictly follow our step-by-step guide to set up Shopify discounts effectively. Also, be aware of mistakes to ensure your promotions are clear, impactful, and drive conversions. Join GemPages blogs to learn more insights about Shopify and how to boost your online sales.
FAQs


