


 Facebook Community
 Change Log
 Help Center


- What is Shopify Checkout Page and its impact on Website Conversion Funnel?
- What should a checkout page look like?
- One page checkout vs multipage checkout
- How to Customize Your Shopify Checkout Page
- Shopify One-Page Checkout
- Ideas & Best Practices to Customize Your Shopify Checkout Page - With Examples
- 1. Taylor Stitch
- 2. Tentree
- 3. Endy
- 4. Chubbies
- 5. L'ange Hair
- 6. Thesus
- 7. Kinship
- Best Practices For Optimizing Your Checkout Page
- Three Common Mistakes To Avoid When Designing Checkout Pages
- Conclusion
- FAQs about Shopify Checkout Pages


How to Customize Your Shopify Checkout Page in Minutes

To begin, a website conversion funnel is a friendly journey that guides customers through different parts of your website – starting from the homepage and ending on the checkout page.
So, it’s imperative that you design and optimize your Shopify checkout page for conversion.
In this blog post, we'll help you with a detailed guide on how to customize your checkout page along with best practices and examples. And of course, the indispensable game changer: Shopify one-page checkout.
Let’s delve in!
Learn more: How to Create an eCommerce Website Conversion Funnel in 2026

Shopify Checkout, combined with Shop Pay, can provide a swift and seamless checkout experience to your customers.
What is Shopify Checkout Page and its impact on Website Conversion Funnel?
Everybody already knows that the checkout page is like the final stop in your online shopping adventure! It's where you get to enter your payment and shipping info to wrap up your order.
But for website conversion funnel, its role is more than that. It helps:
1. Maintain Brand Consistency
Throughout your website, displaying consistent branding is important. Especially your logo and color scheme represent your brand. The default checkout page does not reflect your branding.
For example, if you don’t customize your checkout page, it’ll look like the below image. It’s Shopify’s default checkout page without any customization.
Looks quite uninspiring, right?
That’s why you must put in the effort to enhance the branding of your checkout page. When customers see the same branding on your checkout page, it gives them a sense of trust and security.
Pro tip: Try a third-party app to build your own high-converting pages with GemPages.
2. Reduce cart abandonment rate
The eCommerce average cart abandonment rate is 70.19%, a whopping number.
A complicated checkout process is one of the top reasons for abandonments during checkout. The study also shows that cart abandonments are recoverable through checkout flow improvement, such as optimizing design, form elements, copy on page, etc. An effective checkout process, therefore, can reduce cart abandonment and increase conversion rates.
Pro tip: One of the pro tips to reduce cart abandonment rate is to keep your cart always in sight of the customer - Sticky Add to Cart. But how can it not make customers feel annoyed? Design it beautifully with an ease-to-use page builder.
3. Increase Your Average Order Value
Customizing the checkout page is more than just branding and visual appearance.
If you’re a Shopify Plus merchant, you can also use the checkout page as an opportunity to offer upsells and cross-sells. This can help you increase the average order value.
Make sure that you promote the right or highly relevant products on the checkout page to increase the chances of conversions.
Learn more: How to Upsell on Shopify: 7 Proven Tips with Examples (2026)
4. Boost Your Conversion Rate
According to Baymard Institute, the average large-sized eCommerce business has the potential to increase the conversion rate by 35.26% through a better checkout flow and design. And this alone can help them recover a whopping $260 billion worth of lost orders.
When a customer reaches a checkout page, the purchase intent is at its peak. One step forward and you close the sale. And if the customer bounces off your checkout page, chances are the customer won’t be back and you might lose the sale.
A well-designed checkout page helps you seal the deal.
Littledata conducted a survey with 2,174 Shopify stores in 2022 to find out checkout completion rates, i.e., the percentage of successful checkouts that results in a purchase.
Here are some interesting findings:
- The average checkout completion rate of the surveyed Shopify stores was 45.2%
- If your store's checkout completion rate is more than 58.7%, your store can be considered amongst the best 20% Shopify stores as per the benchmark set by Littledata.
- If your store's checkout completion rate on all devices is less than 29.7%, your store falls under the category of the bottom 20% of Shopify stores with the lowest checkout completion rates.
Pro tip: To optimize your website conversion funnels, don’t forget that you still have a key weapon, namely "click-through landing page". Find out more with us to improve your website conversion funnel.
5. Gain customer trust and security
Sharing personal information such as credit card details, home address and contact phone number shows customers trust you. So let's build a safe environment and smooth experience for customers when they land here.
Adding such information like "Why choose us?" with more details about the quantity sold or the origin of the product will gain customer confidence.
Pro tip: Add Trust Badge or customers’ Review to enhance your store’s credibility
What should a checkout page look like?
A well designed checkout page should feel smooth and intuitive, helping shoppers move from cart to completion without unnecessary friction. Typically, an effective modern checkout page contains:
A clear order overview:
Shoppers should easily see what they are buying, including product names, quantities, and prices.
Simple, focused form fields:
Request only the information required to finish the order, such as shipping details, billing information when needed, and payment data.
A range of payment methods:
Providing several payment choices helps accommodate different customer preferences.
Visible trust and security indicators:
Badges, SSL notices, reviews, and other trust signals reassure buyers that their data is protected.
Transparent shipping details:
Display shipping costs, delivery options, and estimated arrival dates early in the process so shoppers know what to expect.
Clear call to action buttons:
Buttons that lead users to the next step (such as “Proceed to checkout” or “Place order”) should stand out and be easy to follow.
Platforms that prioritize checkout performance often see higher conversion rates. For example, Shopify’s optimized checkout has been shown to convert better than many competing solutions.
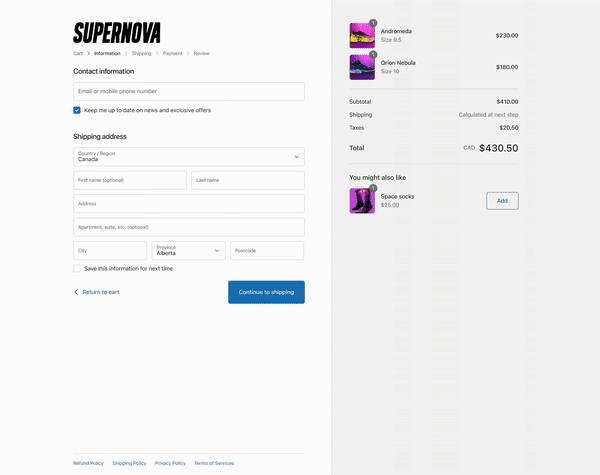
One page checkout vs multipage checkout
Checkout experiences generally fall into two formats: everything on a single page or a guided, multi step flow. The best option depends on your audience, the complexity of your product, and what type of experience you want to deliver.
One page checkout:
All information fields such as contact details, addresses, payment methods, and order summary appear together on one page. This approach is quick, but if it is not organized well, shoppers may feel overwhelmed by too much content at once.
Multipage checkout:
The process is divided into separate screens, guiding customers through each step. It usually takes longer but can feel clearer and more structured. It also allows merchants to pinpoint where shoppers abandon the checkout process and make targeted improvements.
How to Customize Your Shopify Checkout Page
There are multiple ways of customizing your Shopify checkout page. However, keep in mind that these options depend on your Shopify plan. Some of the options are limited to Shopify Plus merchants only.
But don’t worry. We’ll let you know all these different methods along with the compatible Shopify plan.
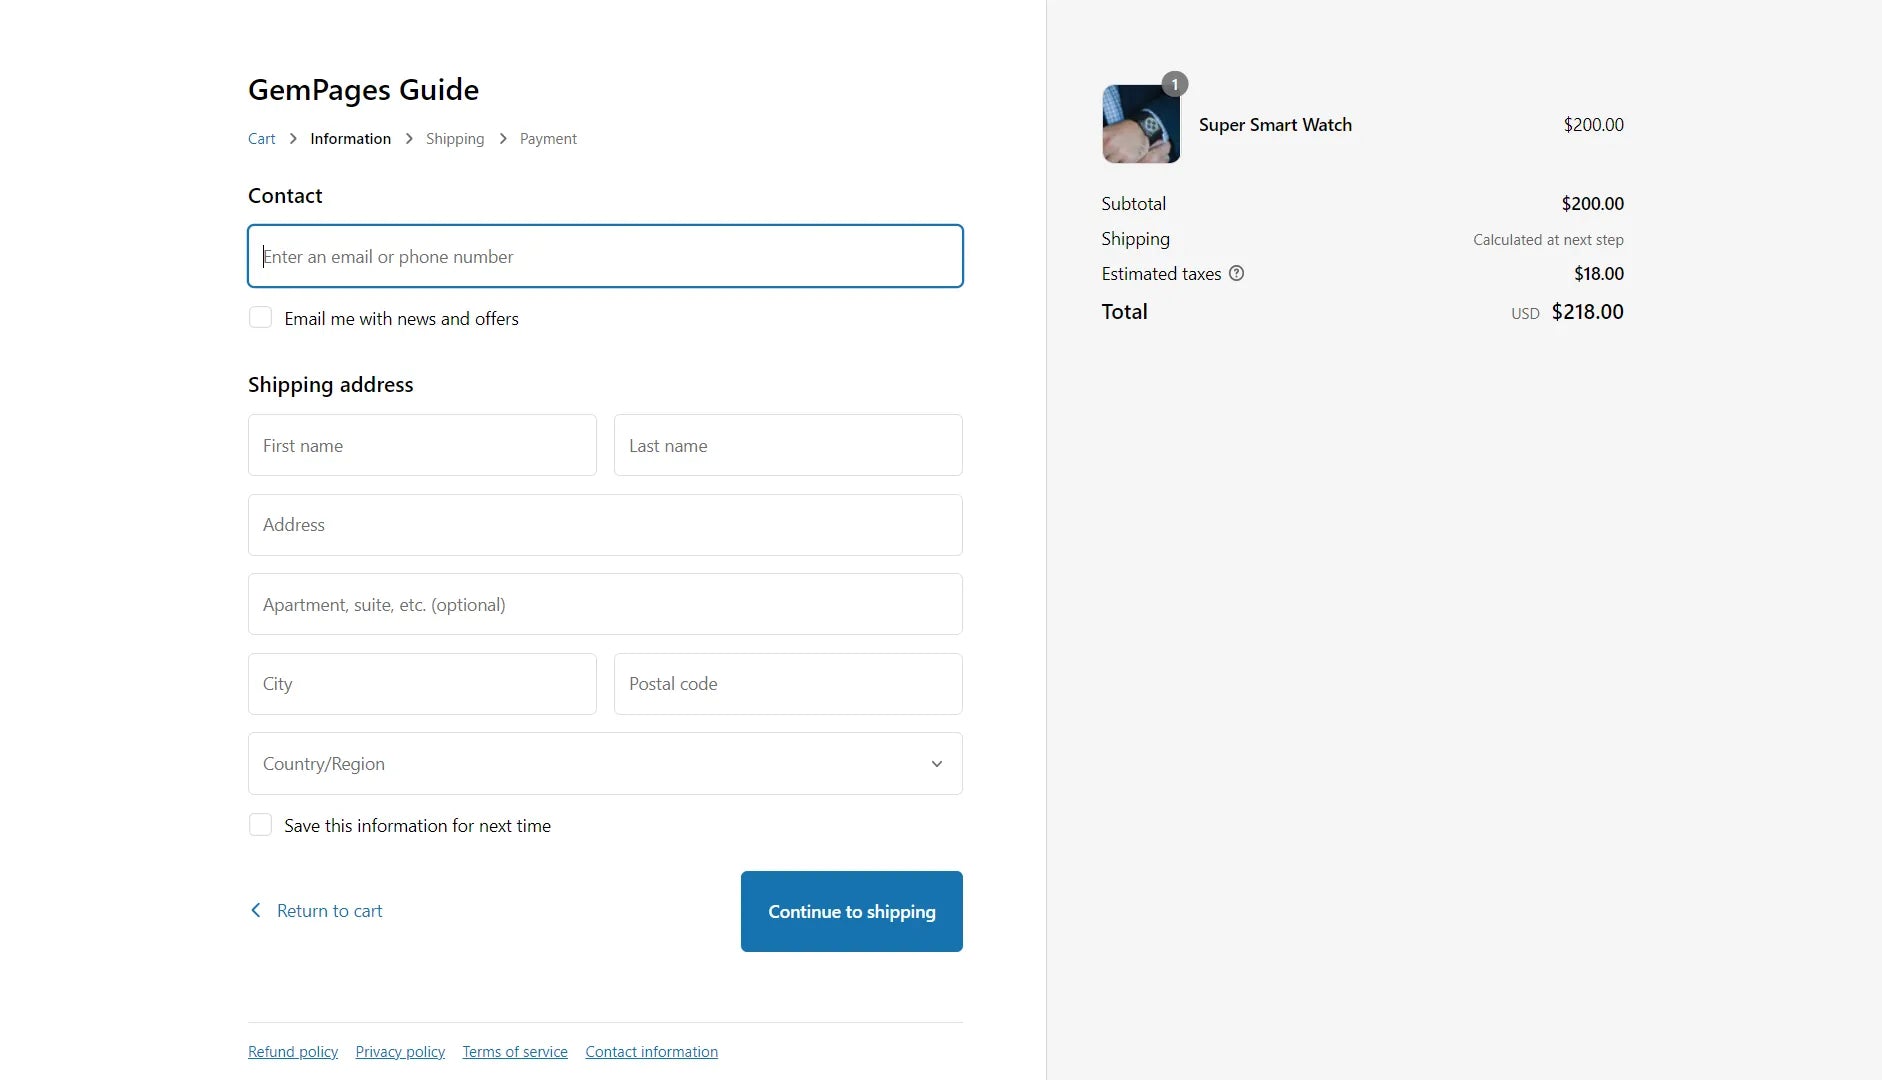
Method 1: Customize the Checkout Page through Theme Settings
[Applicable for all Shopify plans except the Shopify Starter plan]
If you want to do some basic or visual customizations to your checkout page, you may do so from your theme editor. We recommend that all Shopify merchants should do these customizations to give your branding to the checkout page.
Let’s go through the step-by-step process:
Step 1: Go to your Shopify admin and click on Online Store > Themes. Then, click on the Customize button on your current theme.

Step 2: Once the theme editor is opened, dropdown the Homepage button to find Checkout button.

Step 3: When the Checkout editor screen shows up, you will see a quick note notifying that the Checkout page cannot be edited using section. Click on "Go to theme setting" to optimize your checkout page

Step 4: Check out the left-side bar, which includes such options as Logo, Cover, Layout to start optimize your checkout page:
- Banner - Background image (on top of the checkout page)
- Logo - to upload your brand logo.
- Main content area - This can be customized with a background image or just a color.
- Order summary area - This can also be customized with a background image or just a color.
- Typography - for headings and body texts.
- Colors - for links, buttons, error messages, etc.
Once you’ve customized all the sections as needed, click on the Save button.

Step 5: Open your website and go to the checkout page through any of the products. Review if everything appears as intended. For example, this is how the checkout page that we customized looks on the website.

Use high contrast color scheme for better readability. Don't keep busy background images to avoid distractions. Definitely match the design to your branding.
Method 2: Install Apps to Extend Checkout Functionality
[Applicable for all Shopify plans]
Shopify gives more flexibility to Shopify merchants by allowing them to install their public checkout apps.
These apps can help you add new sections or functionalities to your checkout page.
A. Install an App from Shopify App Store:
You can find these Shopify Checkout customization apps in the Shopify App Store. For example, if you want to upsell products on your checkout page, you can install an app like AfterSell Post Purchase Upsell. It’ll let you display upsell products in the order summary area of the checkout page.

B. Build Your Own Checkout App
If you want to create some unique functionality that is currently not available on any app, you can build your own app. Of course, it requires technical knowledge. But you can also take help from an app developer or a Shopify partner to custom-build an app for your needs.
Here are some of the features that you can add using Shopify checkout apps:
- Configure a date-picker on the checkout page so that your customers can choose their desired delivery date.
- Create and display a banner on the checkout page to provide some important information to your customers.
- Allow your customers to share additional information with their orders. For example, they can share a name or a personalized message for a gift item.
Method 3: Use Checkout Branding API for Advanced Customizations
[Applicable for Shopify Plus merchants only.]
Well, this method may sound complex and technical, because it actually is.
To use Branding API for checkout customization, you may need to work with a developer. But this method can give you limitless options to customize and you can create a unique checkout design for your brand.
Let’s briefly see what you can do with this method.
Shopify Plus merchants have the option to use the GraphQL Admin API. This method can be useful when you want to go for advanced customizations that are not doable through Shopify's checkout editor.
For example, you can add a favicon to your checkout page. You also get flexibility and control over the design elements like the border-radius on buttons.
Check out more details on getting started with advanced checkout branding.
Learn more: Everything You Need To Know About Shopify Pricing Before Upgrade
Shopify One-Page Checkout
Shopify's one-page checkout is one of the outstanding features of this eCommerce platform. In Shopify Editions - Winter ’25, Shopify has already announced this all-new update that’s going to change how the Shopify Checkout functions.
So, What is Shopify One-Page Checkout?
Typically, when customers want to complete a checkout process on a Shopify store, they're required to go through a couple of pages to fill in the billing, shipping, and payment information.
However, the One-Page Checkout brings a new experience where customers can fill in all those details on a single page only.
Since September 2023, Shopify has replaced the three-page checkout template with a new one-page checkout. All Shopify plans, including Basic, Shopify, Advanced, and Plus, are automatically migrated to the single-page layout by default. Still, you may switch between one-page and three-page checkouts from the Shopify admin.
Learn more: 18 Best One Product Shopify Store Examples in 2026
Ideas & Best Practices to Customize Your Shopify Checkout Page - With Examples
1. Taylor Stitch
Taylor Stitch is a clothing brand that deeply cares about the environment while creating the best possible clothing items. Taylor Stitch is working towards building a better, more responsible company that believes in protecting people and the wild.
Show the Progress Bar for Checkout Process
Taylor Stitch’s checkout page is a great example of how you can encourage customers to complete the checkout even if you don’t have one-page checkout. Since this checkout requires you to go through multiple pages, they’ve shown a progress bar right on the top.
Upsell or Cross-Sell Relevant Products
By upselling or cross-selling relevant products on your checkout page, you can increase your average order value (AOV). Taylor Stitch displays the upsell product on top of the main content area, which may entice customers to add it to their carts.
Showcase Why Customers Should Buy from You
In this competitive era, it’s important to let customers know why they should choose your brand and not any other. Taylor Stitch’s checkout page does with its ‘WHY CHOOSE US?’ section that provides a list of benefits of purchasing from them. It gives customers more reasons to complete the checkout.

The checkout page of Taylor Stitch has multiple great aspects to learn from. Apart from the upsell section and benefits, it also allows customers to redeem store credits on the checkout page.
2. Tentree
Tentree is a clothing brand with a great mission and an Earth-first approach. For every item purchased from this brand, they plant 10 trees, and so far, Tentree has planted over 75 million trees.
Be Unique and Innovative with Your Brand Mission
Along with the inspiring mission of this brand, its Shopify checkout page is also quite inspiring. Instead of upselling other products, this brand uses the upselling feature to encourage customers to contribute towards planting more trees and reducing their carbon footprint.

On Tentree’s checkout page, customers have the option to contribute to planting 10 additional trees for US$5.00. Similarly, there are two additional options to contribute toward reducing carbon footprint.
3. Endy
Endy offers Canadian-made mattresses that are made with high-quality material and are amazingly comfortable. The brand has already sold over 500,000 mattresses across Canada.
Create a Consistent Branding Experience
Endy’s checkout page matches perfectly with its branding by making proper use of color and fonts. Not only it makes the checkout page looks aesthetically appealing but it also raises the brand’s credibility.
Use Chat Widget to Increase Conversions
Offering support on the checkout page is a great way to ensure you don’t lose customers. Especially when you’re selling expensive products, customers may hesitate to complete the purchase if they have the slightest doubt. Endy has configured a chatbot on their checkout page so that customers can find quick answers to some common questions.
If you can offer live chat as well, it would be even more powerful, and it can help you enhance your store’s conversion rate.

Endy offers assistance to customers through a chatbot and help articles. Considering the high pricing of their products, it’s smart that they’ve prioritized the help article on financing options.
4. Chubbies
Chubbies is an apparel brand founded by a group of friends. The brand offers products like casual shorts, performance polos, sports shorts, swim trunks, t-shirts, hoodies, etc.
Offer a Guest Checkout Option to Customers
24% of online shoppers abandon their shopping carts only because the website wanted them to create an account during the checkout. While it’s definitely good for your business if the customers create accounts, you shouldn’t force account creation to complete the purchase.
Chubbies provides multiple sign-up options to its customers, including through social media, email, and the ‘Checkout as a Guest’ option. Also, they’ve conveyed the benefits of creating an account on top of all these options.

Chubbies has a unique pop-up window for checkout where customers can choose the option to sign in/sign-up or directly checkout as a guest.
5. L'ange Hair
L'ange Hair is a brand that offers hair styling tools and products with a mission to change the lives of 25 million people by 2025. Although the brand has a quite simple checkout page, it has a couple of great points to be noted.
Promote SMS or Email Marketing
Building a list of SMS or Email subscribers can help you run successful marketing campaigns. But customers expect some sort of value to sign up for texts or emails. L'ange Hair offers a 10% discount for the next order when a customer agrees to sign up to text messages from them.
Display Trust Badges
One of the things that may bother customers during the checkout is security. By adding trust or security badges, you can give your customers a sense of security about their personal information and payment details. L'ange Hair displays the trust badges right below the link for policy pages.

L'ange Hair has optimized its checkout page for marketing as well as conversions with SMS marketing sign-up and trust badges.
6. Thesus
Thesus is a brand of outdoor boots, clogs, and accessories. Their products are made almost entirely from natural and recycled materials. The design focuses on minimalism and versatility.
Optimize Mobile Responsiveness
In 2022, more than 65% of eCommerce retail sales took place on mobile devices. That’s why the mobile checkout design truly matters.
“Simple is the best” - That's how Thesus enhances its mobile checkout with a simple and clear design. No pop-ups, hyperlinks, or other distracting elements to cause buying friction. Their form includes only the most significant fields, excluding unnecessary ones like address 2, company address, follow-up questions, etc. that can exhaust customers and then cause cart abandonment.
 Thesus mobile checkout page has simple design and optimized form
Plus, the call-to-action button is clearly visible and large enough to encourage customers to click on it.
Keep in mind that the elements that display on a desktop checkout may not work the same on a mobile screen. Therefore, for higher conversion rates, design your checkout page with a mobile-first approach.
7. Kinship
Kinship is a cosmetics firm that sells clean, cruelty-free, and clinically-effective skincare products at affordable prices. The brand guarantees that all of its products are science-based, free of parabens, sulfates, phthalates, or fragrances.
Built on a wellness and science-led basis, Kinship’s cosmetics benefit all well beings and are suitable for even sensitive skin types.
Offer One-click Checkout
You are likely to feel a “kinship” with its checkout flow. And here is why: they use the one-click checkout to streamline the buying process.

Kinship uses one-click template for its checkout page.
A one-click checkout template allows customers to easily buy things by clicking “Pay now” rather than navigating them to multiple pages and taking several actions. All of the order information is fully displayed on one page. This drastically eliminates the need for waiting for page loads or going through useless friction, thereby reducing the time and effort required to make a purchase.
A one-page checkout template is especially suitable for B2C products, especially necessities or eye-catching novelties that encite customers to place instantaneous orders.
Learn more: How To Create and Customize The Shopify Password Page?
Best Practices For Optimizing Your Checkout Page
Choosing the right subscription app is a key step when building a Shopify subscription upsell funnel. Since Shopify relies on third-party apps for subscription selling plans, the tool you select will affect how smoothly your funnel runs and how well it scales over time.
Ensure Compatibility with Your Store Setup
Start by checking whether the app works seamlessly with Shopify and your funnel setup. It should allow subscription products to be integrated into upsell offers without breaking the flow or requiring complex workarounds.
Look for Flexible Subscription Options
A good app should support multiple subscription models, such as recurring deliveries, prepaid plans, or customizable bundles. This flexibility helps you create offers that match different customer preferences.
Prioritize Ease of Use
The app should make it easy to create and manage subscription plans. You should be able to assign plans to products, update settings, and track subscriptions without a complicated setup process.
Review Pricing and Fees
Different apps use different pricing models. Some charge a fixed monthly fee, while others take a percentage of subscription revenue. Choose one that fits your business margins and expected growth.
Check Payment Gateway Support
Make sure the app supports your preferred payment gateways, such as Shopify Payments, PayPal Express, or Stripe. This is essential for handling recurring billing without interruptions.
Focus on Customer Self-Management
Look for apps that allow customers to manage their own subscriptions, including pausing, canceling, or updating payment details. This reduces support requests and improves the overall experience.
Evaluate Support and Stability
Reliable performance and responsive support are important. Subscription issues can directly affect your revenue, so choose an app with a strong track record and good customer support.
Selecting the right app sets the foundation for a smooth and effective subscription upsell funnel, making it easier to deliver a consistent experience for both your business and your customers.
Three Common Mistakes To Avoid When Designing Checkout Pages
Conclusion
Since Shopify checkout customization depends on your Shopify plan, it may not be feasible for everyone to go for advanced customizations. However, all Shopify merchants with Basic and above plans should definitely edit the checkout page for branding purposes.
Check your Shopify store’s checkout completion rate and see if there are any areas of improvement. You can also test with different customizations and see which one works the best. But you should definitely not miss out on customizing your checkout page as it can influence customer behavior and help you increase your sales and conversions.
FAQs about Shopify Checkout Pages


