Tired of
lengthy page building?
Try GemPages to create pages faster and smarter with AI-powered feature.
Try GemPages to create pages faster and smarter with AI-powered feature.
Exclusively for users making any first payment from Oct 1st to Dec 31st 2023, UTC.
Discount applied automatically at checkout.
Thank you for subscribing.
You will be the first to know about new releases, giveaways, special projects, and everything we promised.
Your email is already used.
Looks like you already signed up for GemAcademy Premium using this email address.
Stay in the know
Subscribe and you'll be the first to know about Shopify news, profitable store ideas, helpful guides, product updates, and more.

Shopify is by far one of the most popular eCommerce platforms in the world. Building an online business on Shopify gives you the immense capabilities of its robust infrastructure and it can open a world of opportunities.
This blog is created to help you with a detailed Shopify tutorial covering everything—from creating your Shopify account to customizing your theme to launching your Shopify store. It not only helps you with a step-by-step guide on how to create your Shopify store but also provides you with helpful tips and resources.
So, if you’re ready with a cup of coffee, let’s get started!
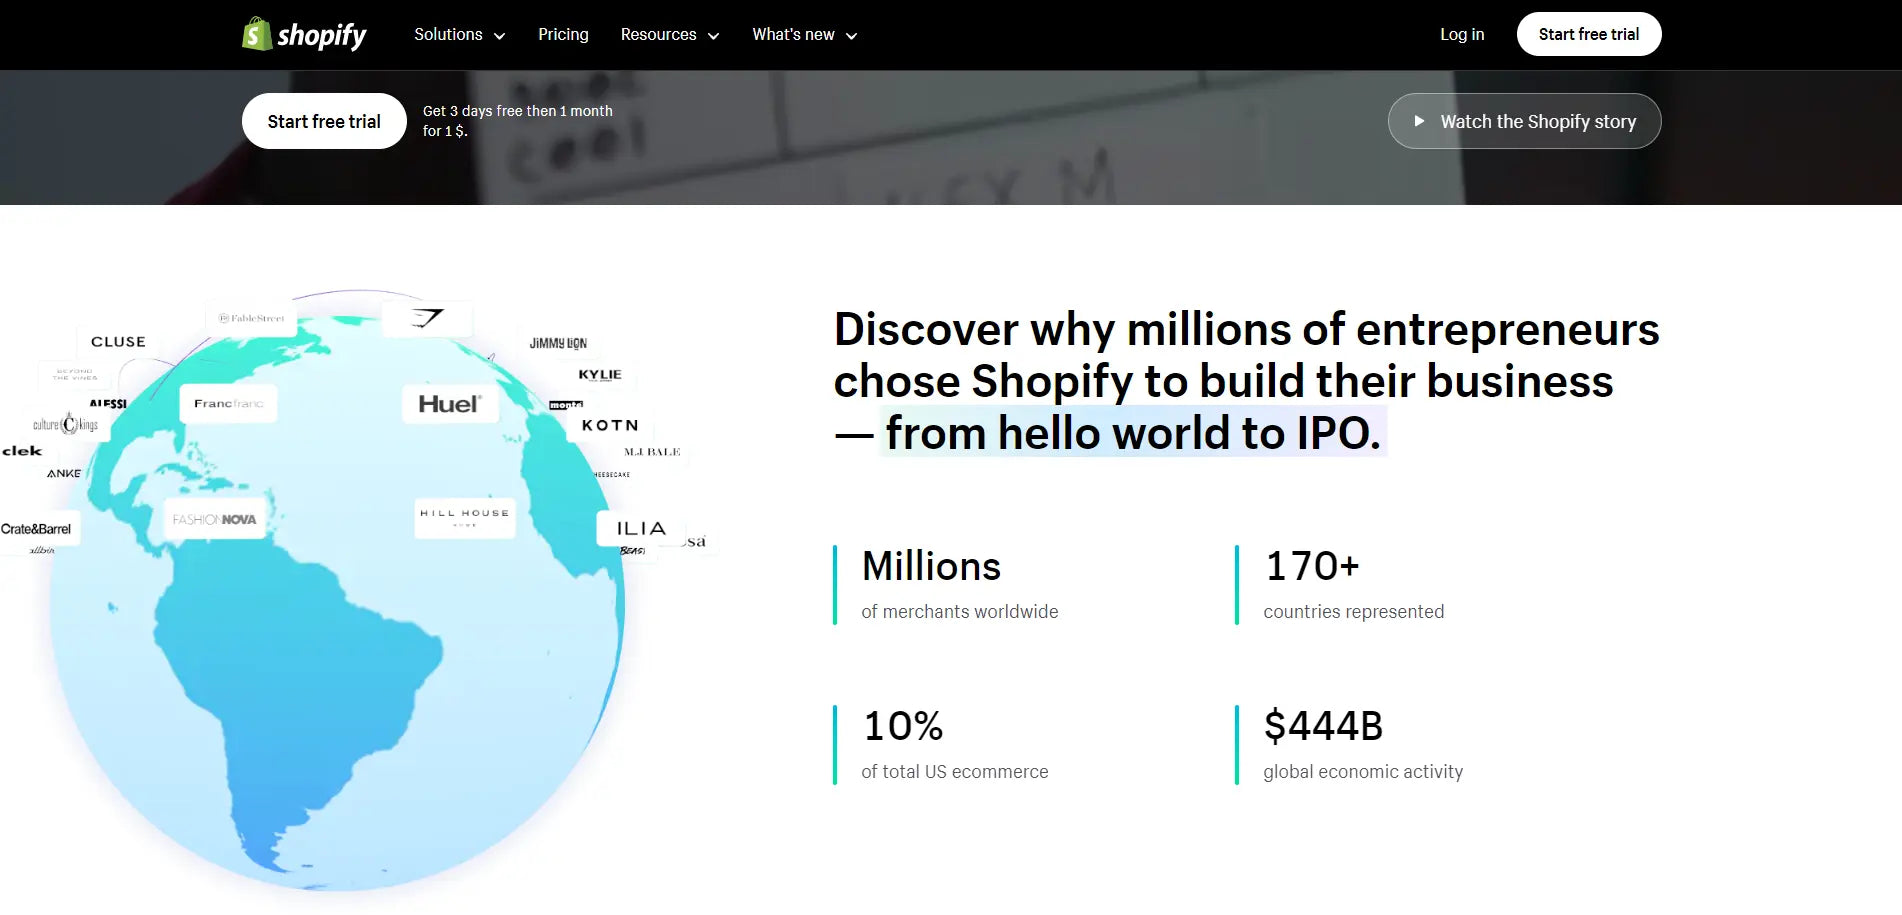
Shopify is used by millions of merchants worldwide and has contributed over US$ 444 billion in global economic activity.
The first step is quite simple!
To start building your store, first, you need to create an account with Shopify. To help entrepreneurs start even with a small budget, Shopify currently offers a 3-day free trial, after which it costs only US$1 for the first month.
Note: Pricing may vary depending on your country.
To begin with, it will require just your email address and some basic information about your business. So, completing this step will hardly take a couple of minutes.

It’s time to go through the fundamentals in our Shopify 101.
Once you’ve created your account, your free trial will start immediately, and you’ll land on the Shopify admin panel or dashboard. If you’re completely new to Shopify, It’s important for you to understand all sections and settings available in Shopify admin and how they work.
So first, go through all the tabs and settings in Shopify admin. By reviewing them, you’ll get a fair idea as to what those tabs are for and you’ll start to familiarize yourself with the platform.
Also, you’ll see a Setup guide section that lists some of the important steps to set up your store. As you complete those tasks, you’ll be able to see the progress in this section.

Shopify setup guide gives you a to-do list to ensure that you complete all basic and important activities on priority.
Shopify Settings
Upon clicking on the Settings tab in the left bottom corner, you’ll see all the Shopify settings that need to be configured for various functions and purposes. We’ll go over some of the key settings in the later sections of this blog.

Shopify settings cover various aspects of your store that are essential to run your business operations.
Add a custom domain
By default, your store would have a Shopify URL like gp-tutorial.myshopify.com. But to give your brand a unique identity, you must purchase a custom domain name like yourstore.com or yourstore.net.
Mainly, there are two ways to connect a custom domain name with your Shopify store:

Shopify gives you the convenience of buying your domain name from the platform; however, you also have complete freedom to buy it from other providers or use an existing one.
Don’t feel stressed. Learn and enjoy the process.
Looking at this long list of items in the Settings tab might feel overwhelming. While it may take some time to learn things, don’t start worrying about it. Instead, start working on one thing at a time. Also, there are plenty of resources to figure everything out
Shopify themes are website templates that provide you with a layout and features to structure and build your online store.
When you create your store, it will have the Dawn theme installed, by default. However, you may want to explore the theme store to select one for your brand.

Shopify theme store consists of fast, responsive, and stylish themes that can give you a solid foundation to build your store.
Learn more: Wondering which theme would be right for your store? We’ve got you covered! Read a complete guide on How to Choose The Right Shopify Theme for Your Store.
Now, it’s time to start the most fun and exciting part!
If you’re a creativity enthusiast, we’re sure you’re going to enjoy this part of your journey more than anything else. Customizing your store is about creating your brand’s style and personality online.
There are two main ways to customize your Shopify theme:
Shopify theme editor allows you to customize different sections available in your theme. You can add, remove, or hide sections to structure and design your online store.
To customize your theme, go to Shopify admin and click on Online Store > Themes. Then, click on the Customize button to start customizing it in the theme editor.


You can structure the layout of your store by using various sections and blocks in the Shopify theme editor.
Wondering why should you use GemPages page builder when you already have an in-built Shopify theme editor?
Well, there are more than one reasons to do so.
While Shopify’s theme editor can help you customize your store with basic sections and blocks available in your theme, GemPages gives you more control over design and customization.
50% of customers believe that a company's website design is important to its overall brand.
So, if you want to stand out from competitors and take your website design to an advanced level, install GemPages and make the most of our variety of features.

GemPages helps you customize Shopify pages and style your store with its intuitive drag-and-drop visual editor, and that’s why it's used and loved by over 137,000 Shopify merchants, including famous personalities and brands.
GemPages comes with an extensive library of professional and high-quality templates, elements, and blocks, making the design process smooth and your web pages stylish.
Learn more: Shopify Customization: How to Build Custom Shopify Pages That Sell?
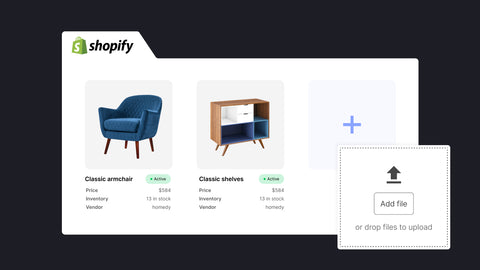
Adding product to your Shopify store is one of the most critical activities.
After all, that’s what you’ll sell in your store, right?
Let’s briefly review the steps to add products to your Shopify store.

Shopify admin allows you to add products manually or import through a CSV file as well.
Go to Shopify Admin, and click on Products > Add your products. You have two options to add products to Shopify:
Just to let you know, you can also click on Find products to sell. This option will take you to the Shopify app store to show Shopify’s recommended product-sourcing apps. This could be useful if you’re creating a dropshipping or print-on-demand store.
Alright! Now, follow these five steps to add your product to Shopify one by one.
Your product title and description express what your product is all about. Make sure you invest time in writing detailed and compelling product descriptions. Also, use the relevant keywords that can help you enhance the SEO of your product pages.
This section will help you upload images, videos, or 3D models of your product. Upload high-quality but low-file-size images of your products. For videos, you can embed YouTube or Vimeo URLs to minimize the impact on your page load speed.
Learn more:
The Ultimate Shopify Image Size Cheat Sheet


Shopify apps are plugins that you can install into your Shopify store to add more features or functions that are not available in Shopify by default.
There could be various purposes for installing Shopify apps and it all depends on your business requirements to decide which apps you should install.
To help you with ideas on the most essential aspects, here’s a list of recommended categories and apps that you should consider installing on your Shopify store:

Shopify app store has solutions to almost every requirement of your business.
“How you collect payments from your customers” is something that impacts not only your business but also the customer experience.
So, it’s imperative that you provide the payment options that your customers would be comfortable paying on, and at the same time, you need to consider what % of fees would be collected by the payment processor.
Mainly, there are four payment options:
Learn more:
Shopify Payments vs. Paypal: What's Best for You in 2023?
What is Shop Pay and Is It Safe?
Shop Pay vs Afterpay: What Is The Key Difference?
To set up your payments, go to the Shopify Admin, and click on Settings > Payments.
Then, choose the payment provider you want to integrate into your store. If you are eligible for Shopify Payments, you’ll see the option with Activate Shopify Payments button.

After clicking on the Activate Shopify Payments button, submit the required details and follow the steps given under ‘Complete account setup’.

Similarly, you can select and activate other payment providers by going through the setup processes for each.

Shopify offers many different payment providers and methods.
Now, let’s talk about a not-so-enjoyable but still important task—setting up taxes.
To set up your taxes, go to Shopify Admin and click on Settings > Taxes and duties.
This section helps you to manage how taxes are charged and shown in your online store. It has four checkboxes as mentioned below. You can turn them on as applicable.
For information on this, you may check out Shopify’s detailed guide on Taxes.
To set up shipping in your Shopify store, there are different methods that you can choose depending upon your requirements.
Shopify Shipping helps you to connect your store with Shopify's shipping carrier accounts.
Benefits of Shopify Shipping:
Important Note: Shopify Shipping is available only for limited and eligible fulfillment locations.
If you're looking to connect your store with your own shipping carrier accounts, you can activate the third-party carrier-calculated shipping. However, you'll need to have the Advanced or Shopify Plus plan.
For the Shopify plan and lower, this feature can be made available with a monthly fee or by switching from monthly to yearly billing.
One more option to manage shipping effectively is to use a Shopify shipping app. These apps come with various features that can help you to print shipping labels, offer shipping insurance, track packages, provide shipping updates, and so on.
Learn more: 10+ Best Shipping Apps for your Shopify Stores
Pro Tip: Do you know what word customers love the most? - FREE.
You can use a Free Shipping strategy to make your shipping policy attractive and smooth. By offering free shipping to your customers, you create an irresistible offer for your customers and you won't have to worry about the shipping rate calculations as well. However, don't forget to adjust your profit margin; you may need to ensure that your pricing includes the shipping costs.
Learn more:
How to Do Free Shiping on Shopify? (+Evergreen Tips).
How does Shopify Shipping work: Easy Set-Up Guide, Tips and Tricks (2023)
Once you have all the basic setup done, you should perform a few tests on your store to see if everything functions properly.
Here are the important aspects that you should test and review before you launch your store:
If your store is already live, you should turn the password protection on during the payment testing. Or else, a customer may attempt to place an order but won’t be able to use their real credit cards.
To turn the password protection on, go to Online Store > Preferences > Password Protection. Click the checkbox, and hit the Save button.

Password protection helps you to keep your store private while you’re building your store or performing any maintenance activities.
Make sure that your order fulfillment is off so that any test order would not go into the fulfillment process automatically. This is especially crucial when your orders are being fulfilled by a third-party supplier or print-on-demand supplier.
To turn off this setting, go to Shopify Admin > Settings > Checkout > Order processing, and click on the radio button that says, “Don’t fulfill any of the order’s line items automatically”.

Order processing settings help you manage your order processing and fulfillment flow.
There are different options to place test orders. You need to follow the testing method depending on your payment provider.
2.1 Test third-party payment providerIf you’re using a third-party payment provider, such as Stripe, you can enable the test mode to test the payment provider. To make the testing process easier, disable any accelerated checkout options on your payment provider page such as Shopy Pay, Apple Pay, or Google Pay.

Enabling the test mode allows you to test your payments before launching your store.
To test international payments on Stripe, you can fill in the checkout fields with the following information:
For more information on this, you can check Stripe’s documentation for testing.
2.2 Test Shopify Payments
Shopify has a complete video explaining the testing process for Shopify Payment.
2.3 Test with Shopify’s Bogus Gateway:
Before you can use Shopify's Bogus Gateway, if you're using Shopify Payments, go to Settings in Shopify admin. Then, in the Shopify Payments section, click on the Manage tab.
Scroll down to the bottom of the page and click on Switch to a third-party provider and you’ll need to click again on Switch to a third-party provider for confirmation.
Also, you’ll need to deactivate Shopify Payments or any other credit card payment provider before testing Bogus Gateway.
Keep in mind that Bogus Gateway won’t test your payment provider.

Bogus Gateway is Shopify’s solution that allows store owners to place test orders.
Once you’ve put your payment provider on a test mode, open your website in an Incognito window and observe everything during the test as if you’re a customer.
Right from logging into your account to completing a test order and even the emails that you receive post-completion of the order; evaluate the entire flow of a customer’s buying journey and see if everything is working as intended.
Once you launch your store, you’d love to see organic traffic coming to your website, right?
Of course, we all love free traffic! So, let’s talk about SEO.
Search Engine Optimization (SEO) is the process that includes several practices to improve the visibility of your web pages in search engines like Google and Bing.
Here are some important best practices for Shopify SEO you need to know:

Using Google Search Console, you can check your website’s performance and URL related status and issues.
To add more pages to your Shopify store, head over to the Shopify Admin > Online Store > Pages > Add Pages.

You will be taken to a webpage editor where you can name your page title and add content to your page. You can aslo edit the search enginine listing and choose a template for the page you’re about to create.

Next, don’t forget to organize your menus.
From your Shopify Admin, go to Online Store > Navigation. On the navigation page, you’ll see the footer and the main menu.

The footer is mostly for the drier information like terms of service and privacy policy. Meanwhile, the main menu often includes pages that contributes to a compelling on-brand experience like collection pages, about us page, thank you page.

Choose the menu that best suits your newly created page and click on Add menu item.
Click Save to finish.
Besides common pages like homepage, landing page, product page, collection page, checkout pages, you can also add more pages to create a unique impression of your brand
Make your brand shine through the pages like the FAQ pages, About Us page, Thank You page, and Blog page.
Learn more: 10 Must-have Shopify Pages for Your Store
People love to know the story behind the brand and you can tell your brand story through the about us page.
In one of the surveys, customers were asked - “Once you’re on the Home page, what information do you want to see available?” 52% of the respondents stated that they would want to see the About/Company information page.
Learn more: How to Create an Impressive Shopify About Us Page? (+Examples & Templates)
Similarly, the Thank You page can help you create better engagement with your customers and keep them coming back to shop more with your store.
Blogs are incredibly valuable in many aspects. You can help your customers by sharing useful content and it will also help you to boost your store’s SEO.
GemPages gives you the freedom to design your store the way you want and it is one of the easiest, most effective, and powerful page builder apps in the Shopify app store.

With GemPages, you can not only customize your store with its drag-and-drop visual editor, but you can also use professionally designed templates for your about us page and blog posts as well.
Your store policies provide transparency to your customers and protection to your business.
66% of customers review the return policy of a business before making the buying decision. 48% of customers say that they stopped buying from a company or refrained from using a service due to privacy concerns.
These findings show the importance of having robust store policies.
Here are the store policies you should take care of and a brief idea about why they are needed:
While shopping online, customers are usually concerned about what if something goes wrong? What would happen to the money they’re spending? By documenting a clear and fair refund policy, you can give your customers the confidence to buy from your brand.
Whether you offer a 30-day return policy or don’t accept returns due to the nature of your products, it’s imperative to specify in your returns policy so that your customers have the transparency they need.
Typically, your privacy policy may include information related to how you collect the personal information of your customers and how it is used and shared within or outside of your business. Also, it may need to cover important sections related to behavioral advertising, cookies policy, and much more.
In simple words, terms of service is a legal agreement that helps you outline all the terms and conditions that applies between you (as a business owner, service provider, or company) and your customers or website visitors.
When buying anything online, customers want to know when they will get the delivery of their shipment. By setting the right expectations regarding the shipping times and methods, you’ll be able to reduce customer inquiries and complaints regarding the delivery of their orders.
To generate store policy templates, go to Shopify admin and click on Settings > Policies.
You’ll see different template sections for different policies. Click on Create from template option below the policy section.

Shopify store policies
Keep in mind that Shopify provides generic policy templates that may cover the most common aspects businesses might need to include in their policies.
However, Shopify also recommends that you carefully read the entire auto-generated information and modify, delete, and/or add any terms or information required by your business.
Since there are legal aspects involved in policies, it's recommended to seek legal advice from professionals to create or review your store policies.

Note: The guidance provided in this article regarding taxes and policies is for general information. Nothing in this article shall be construed as legal or tax advice. You may consult with respective professionals for specific guidance for your particular tax situation or legal obligations.
Google Analytics is a free platform that helps collect data from your website or app and provides you with detailed reports and insights about your online business.
How to Set Up Google Analytics in Your Shopify Store
If you enable Google Analytics more than once, it will result in incorrect data.
To check if you have it enabled, go to Shopify admin and then click on Online Store > Preferences. If the Google Analytics section is empty with placeholder texts - "Paste your code from Google here", it means that Google Analytics was not set up before.

To sign up for Google Analytics, you need to have a Google account. Almost all of us would already have at least one Google account. If you don't have one, create a Google account first and then sign up for Google Analytics.

Google Analytics can help you obtain great insights from your website traffic and evaluate the performance of your products, content, and marketing.
First, you'll need to create a Universal Analytics property. Go to Admin in Google Analytics and select the right account in the Account column. Then go to Property and click on the Create Property tab. Insert the property name and select Create a Universal Analytics property only.

Once you have created the Universal Analytics property, go back to Shopify admin and click on Online Store > Preferences. Then, go to the Google Analytics section, and insert your Universal Analytics property that you copied from Google Analytics.

Next to the Property column in Google Analytics, you'll find the All Web Site Data column. In that column, go to Ecommerce Settings.

There are two types of Ecommerce setups:
You can enable Ecommerce Reporting based on your needs
After putting in all your efforts to build your Shopify store; finally, it’s time to launch your store.
No matter how much you work on your store, as a business owner, you might feel concerned at the time of launch. Check out Shopify launch checklist to make sure you don't miss any important steps.
While it’s a good practice to take care of all the aspects right from the beginning, don’t look for perfection. There are certain tasks that you must complete before launching your store, and there are other tasks that you can keep working on even after launching your store.
Lastly, don’t forget to remove your password!
Once you launch the store, don’t consider the job done yet.
The next challenge for you would be to bring traffic to your website. Mainly, there are two ways to increase your website traffic:
1. Organic
2. Paid
To generate organic traffic to your website, you may need to work on different strategies such as content marketing, social media marketing, email marketing, search engine optimization, and so on.
For paid traffic, you can run paid marketing and advertising campaigns such as Facebook ads, Google ads, and influencer marketing to raise your brand awareness and get your initial sales.
Scaling your business is an ongoing process and you need to stay dedicated and consistent with your strategies. Also, keep evaluating the outcome of your strategies, take all the necessary actions, and keep growing your business.
We wish you all the best!


© 2017-2024 GemPages. All Rights Reserved.
![Post-Purchase Surveys: Guide, Examples, and Questions [2024]](http://gempages.net/cdn/shop/articles/Post_Purchase_Survey_480x480.webp?v=1713760779)